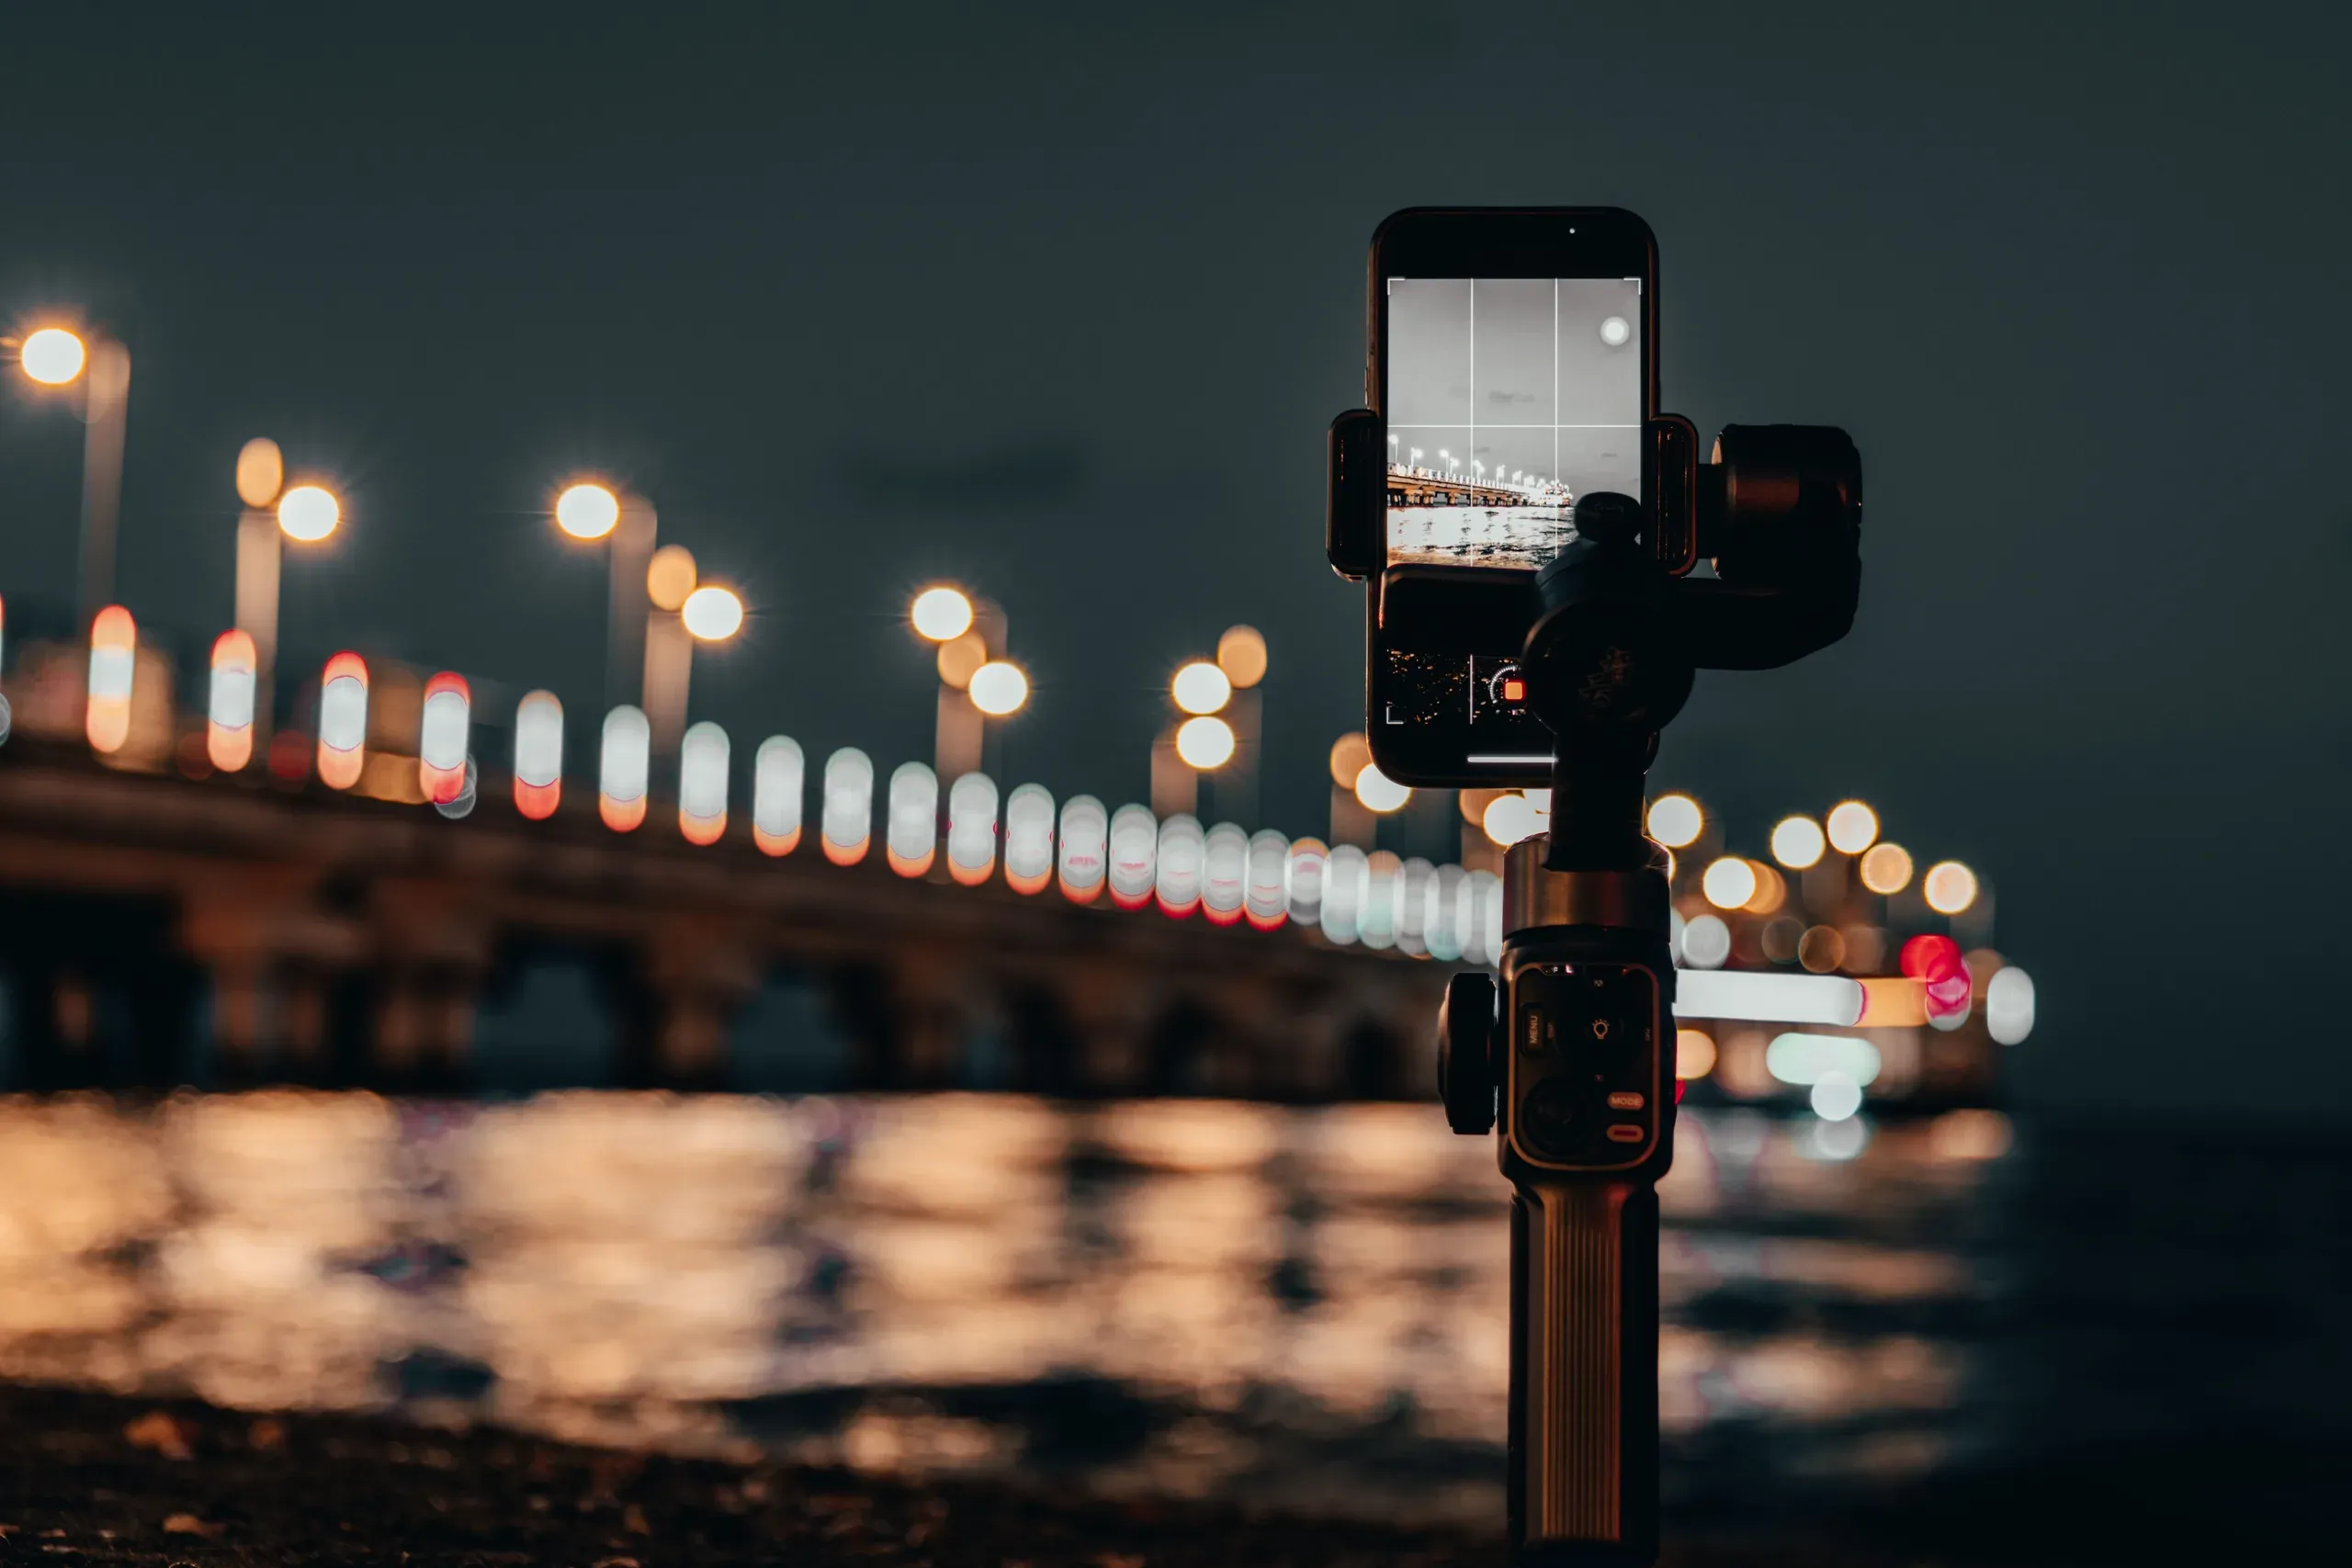
Use the night mode your phone already has, rest the phone on something solid so it cannot move while it captures, and keep it warm until the display starts. Recent iPhones and Pixels both do the long exposure for you; what spoils most aurora pictures is a hand that moves during the capture and a battery that gives up in the cold. A small tripod and an inside pocket fix both.
The phone in your pocket can photograph the aurora. What stops most people is
not the camera but two things around it: the phone moves while it is taking the
picture, and the cold drains the battery before the display arrives. Both have
simple fixes, and the manufacturers spell them out.
iPhone: Night mode
Night mode works on the iPhone 11 and later, and it switches itself on when the
camera detects low light. To give it longer, tap the Night mode button and move
the slider above the shutter to Max, which extends the capture time. Apple’s
instruction is to hold the phone steady until the capture completes, ideally on
a solid surface or a tripod.1
One setting is worth checking before you go out. In Night mode the flash is not
active, but if Flash is set to Auto it can switch itself on in low
light,1 and a flash lights up the
snow in front of you and nothing in the sky. Turn it off.
Pixel: Night Sight and astrophotography
On a Pixel, Night Sight asks you to hold still for a few seconds. For the sky,
Google’s instruction for astrophotography is stricter: point the phone at the
sky and set it down on a stand or tripod, and do not hold it or prop it with
your hand. A countdown shows how long the capture has
left.2
On the Pixel 4a (5G) and later, astrophotography works only at a zoom of 1x or
more,2 so if the mode does not
appear, check that you have not switched to the wide lens.
Other phones have their own night modes under their own names. The same rule
applies to all of them.
Tripadvisor ratings, 18 Rovaniemi operators
Highest first
Snowtrail Safaris 5.0
Nordic Odyssey 5.0
Nordic Adventures 4.9
Arctic GM 4.9
Book Lapland 4.9
Bearhill Husky 4.9
Arctic Attitude 4.9
StayLapland 4.8
Wild About Lapland 4.7
Wild Nordic 4.7
Lapland Winter Park 4.6
Safartica 4.5
Nordic Unique Travels 4.5
Apukka Resort 4.4
Lapland Welcome 4.3
Arctic Circle Snowmobile Park 4.3
Arctic Circle Husky Park 4.2
Raitola 3.4
<44.04.55.0
Ratings read from Tripadvisor. The shaded compartment left of the divider holds any score below 4.0. We record the score only; review counts and review text are not part of our comparison.
Something to rest it on
Every instruction above comes down to one line: the phone must not move. A small
phone tripod weighs next to nothing and is the single most useful thing to pack.
Without one, a fence post, a car roof or a snowbank will do, with the phone
propped so it cannot slide, and the self-timer set so your finger is off the
screen when the capture begins.
This is how to capture the northern lights without buying anything else, and
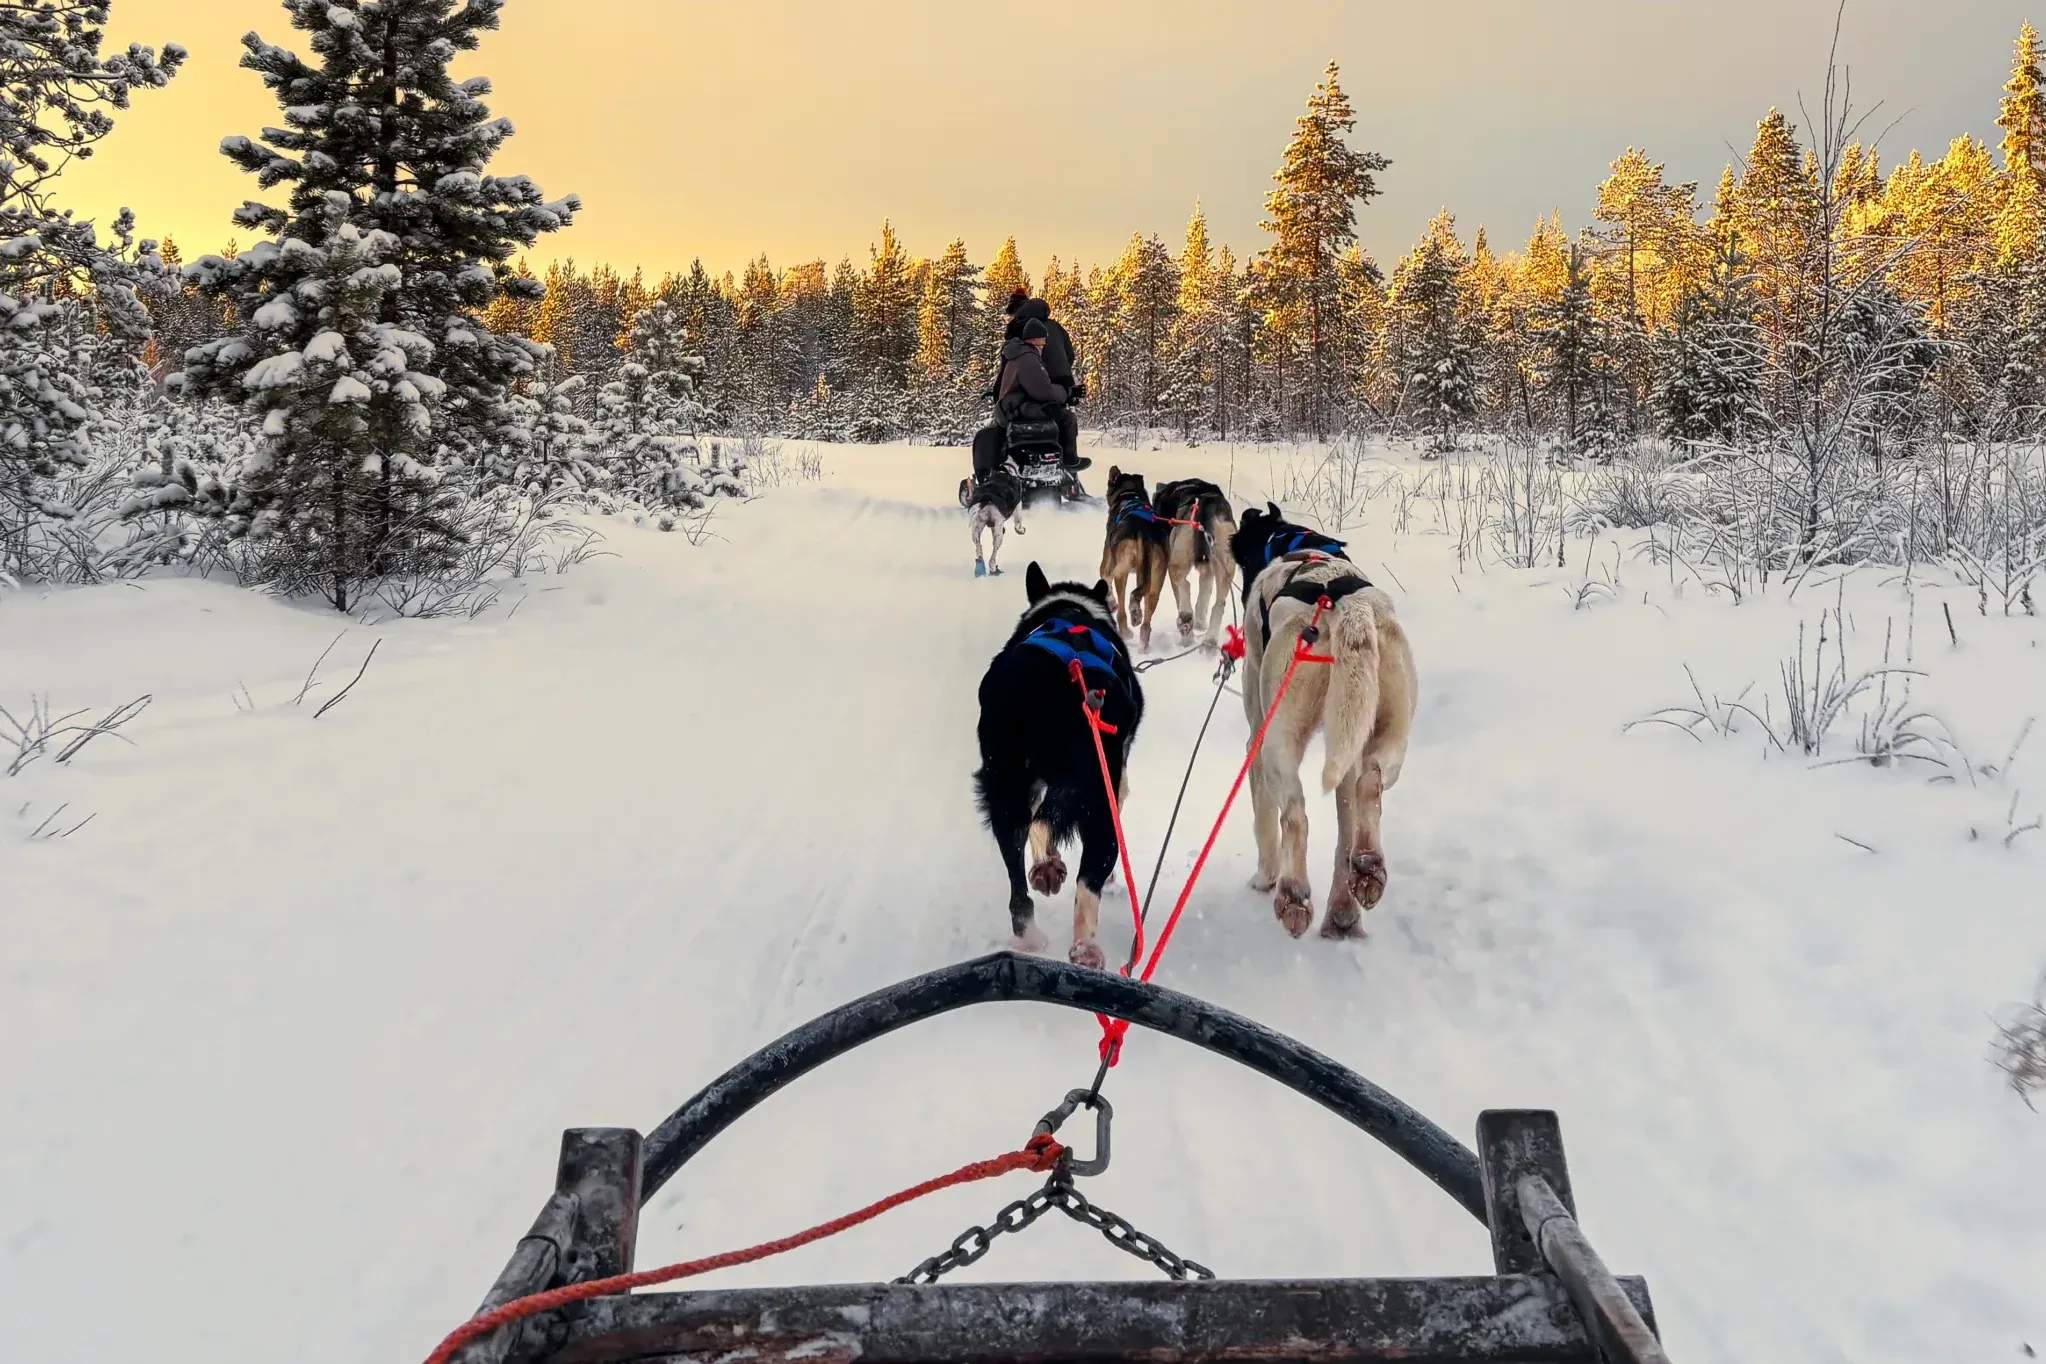
it is also why a shot from a moving vehicle or a sled does not work.
Keep the phone warm until you need it
Apple designs its phones for use between 0 and 35 degrees. Colder than that,
the battery can drain faster for a while and the phone can switch itself off;
battery life comes back once it warms
up.3 On a Lapland night that range
is left behind within minutes.
So keep the phone in an inside pocket, close to your body, and bring it out
when the display starts rather than holding it up while you wait. A second
battery pack in the same pocket is cheap insurance.
Frame something
A picture of green sky alone is hard to tell from any other. Put a tree line,
a cabin roof or a person standing very still at the bottom of the frame, and
face north. Which evening is worth going out
at all is a different question, and
how to read a Rovaniemi aurora forecast
answers it. The
northern lights guide covers where to
stand and when you do not need a tour at all.
This page is an independent guide, written from published sources. We have no
connection to Apple, Google or any aurora tour operator.
Not to start with. The night modes built into recent iPhones and Pixels choose the exposure for you, and the difference between a good and a bad aurora picture is usually stillness rather than settings. Apps with manual control exist and are worth trying once the basic routine works, but learning a new app in the dark at minus twenty, with the display fading overhead, is how the one good minute of the evening gets missed.
My pictures come out blurred. What went wrong?
Almost always movement during the capture. Both makers ask for the phone to be kept still until the capture ends, and pressing the shutter button is itself a movement. Put the phone on the tripod or a solid surface, set the self-timer so your finger is off the phone when it starts, and do not pick it up until the countdown has finished. If the stars are sharp and the aurora is soft, that is the aurora moving, not you.
Will a tour take the pictures for us?
Some do. The family aurora guide on this site notes one Rovaniemi operator that brings a professional photographer and sends edited pictures afterwards, which is the most reliable way to get a picture with your own family in it. On most tours the guide will help you set up a phone, but the pictures are yours to take, so the routine on this page still applies. Ask before booking which kind of evening it is.
Lapland Handbook is written by its editorial staff in Rovaniemi. Every price, age limit and group size in a comparison is read from the operator's own page and marked "Not stated" when the operator does not publish it. Each guide names who should not book, and names the operator that suits each kind of group, whichever it is.
Rovaniemi's winter tours do sell out – December and the week around New Year first, and the small-group ones before the rest. Booking here goes straight to the operator at their own published price, and the code LH10 takes 10% off it.
We would like to count visits, so we can see which guides get read. That needs a cookie. Nothing else on this site does, we show no advertising, and refusing changes nothing about what you can read or book. What we measure and why.